X10-2カメラ、X9-2カメラ、X5-2カメラ用の室内IRカメラ

INTERIOR IR CAMERA
タクシー・ウーバー・リフト用の
内部赤外線のドライブレコーダー
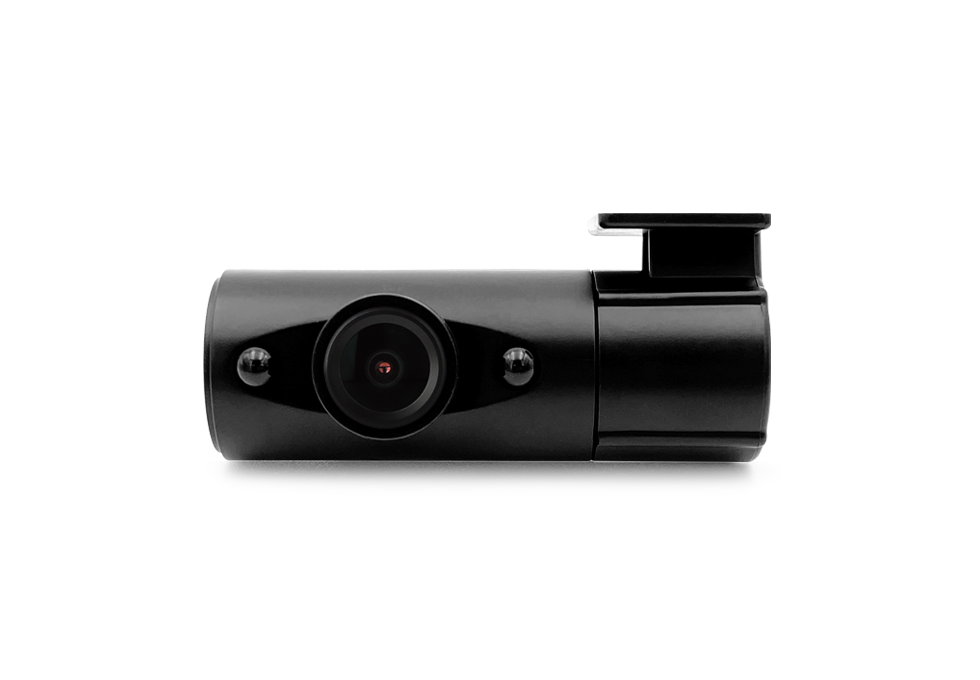
X10-2カメラ、X9-2カメラ、X5-2カメラ用の室内IRカメラ
特徴

極端に暗い状況でも室内で録画できるように作られました。
通常のドライブレコーダーは、車外のみ録画できるような形です。
しかし、相乗りする利用者が増えるにつれ、室内の安全に対する懸念が高まっています。
赤外線LEDが内蔵されたIROAD IRカメラは、低い照度でも車外だけでなく車内まで安全に記録できます。
タクシー運転手にとってもIRカメラの取り付けがますます必要になってきています。
車内や車両周辺のあらゆる状況をを記録できるような準備が必要です。
IRカメラは命を救うツールの一つといえます。
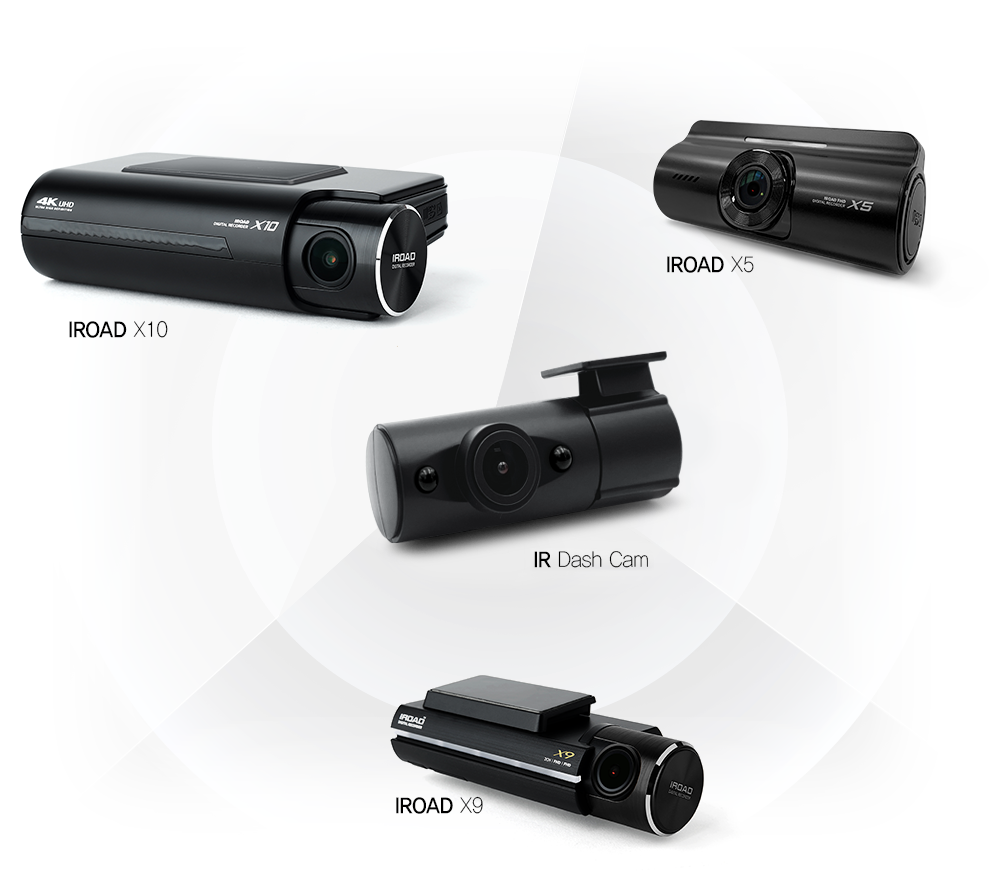
互換性のある商品
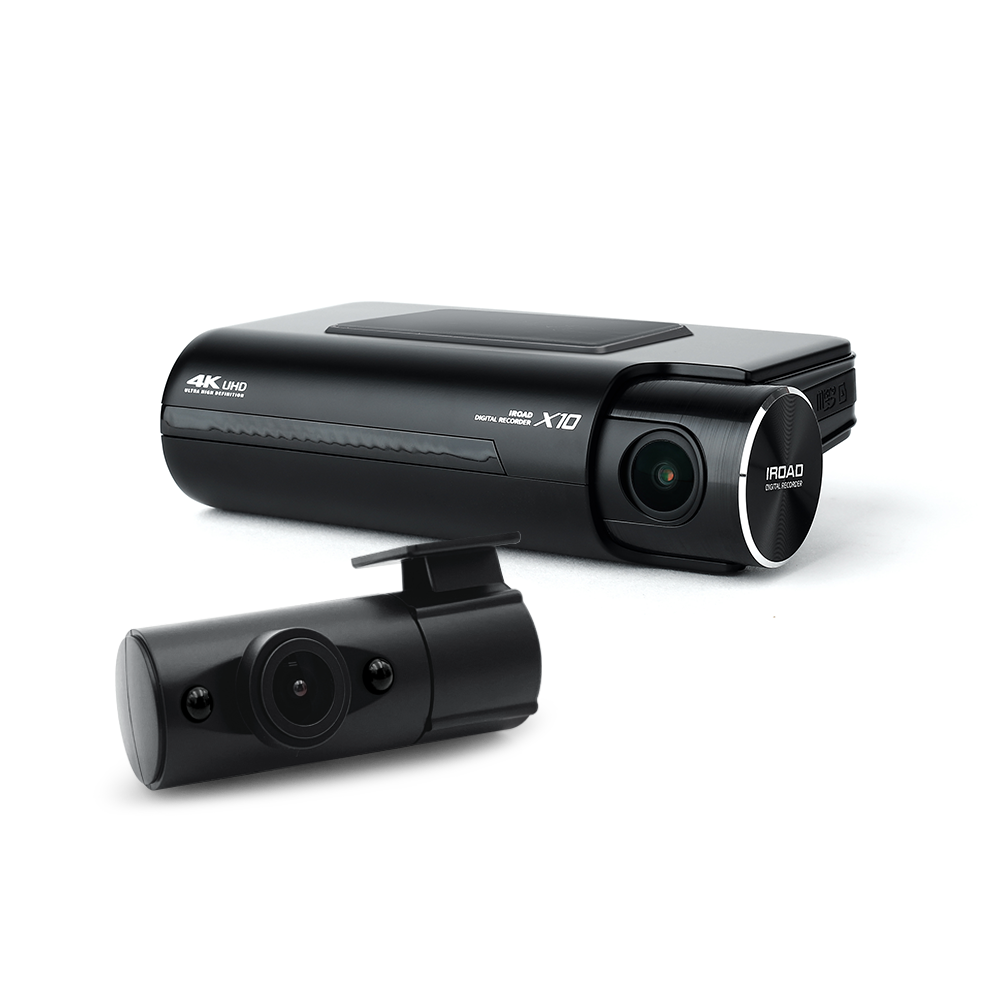
IRカメラ付きIROAD X10
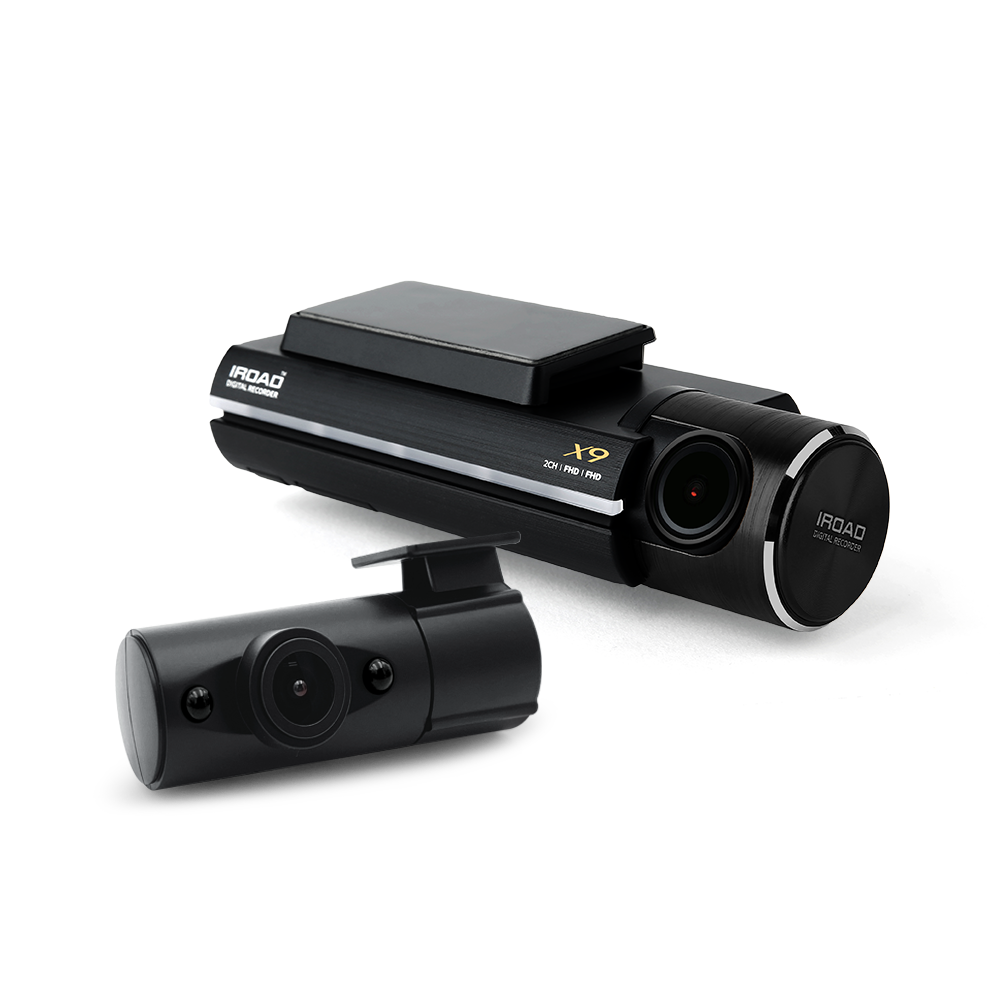
IRカメラ付きIROAD X9
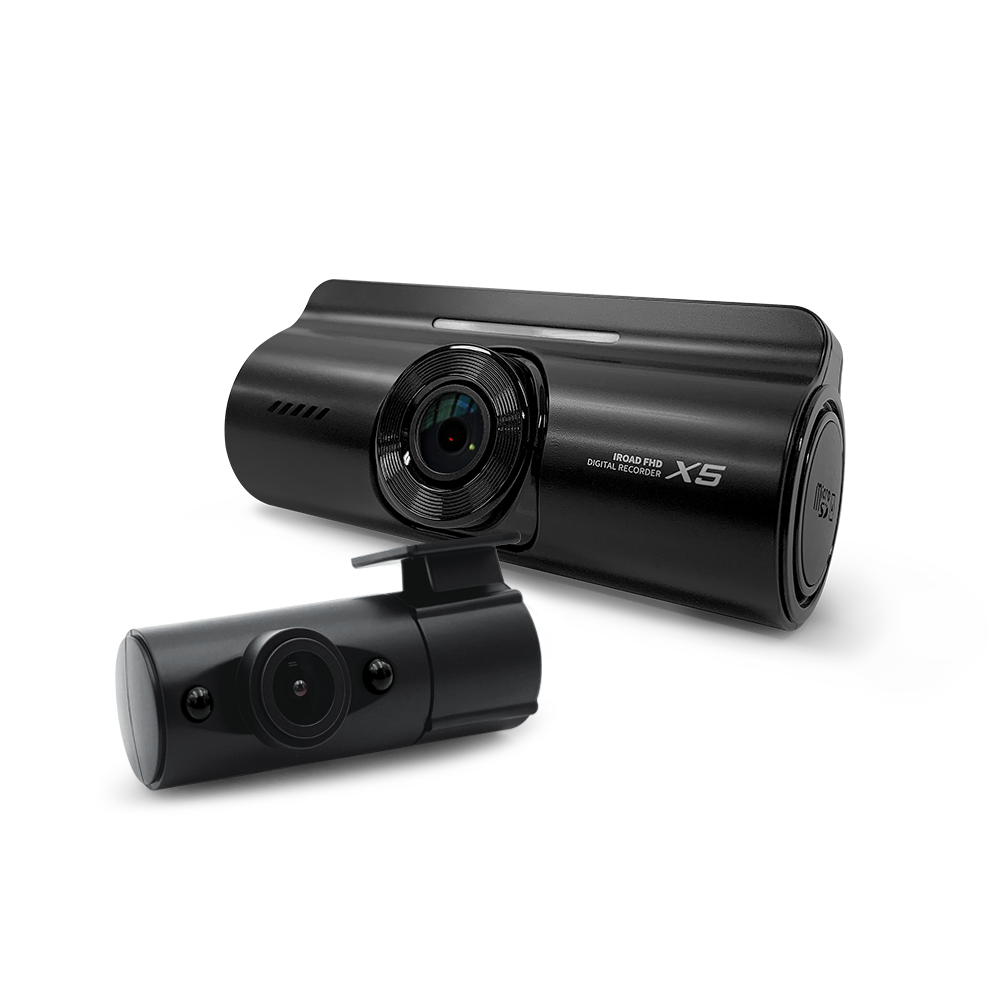
IRカメラ付きIROAD X5
詳細仕様
商品名 |
室内IR FHDカメラ |
|---|---|
商品の寸法/h5> |
80 x 26mm / 32g |
解像度 |
Full HD(1920x1080) |
赤外線照明 |
850赤外線灯 |
フレームレート |
30 fps |
視野角 |
140° |
ケーブル長さ |
基本:1Mオプション:7M、20M |
動作温度 |
-20°~ 60°C |
保証期間 |
1年 |
KC認証 |
R-R-JWW-IROAD-IR-FHD |
MOBILE
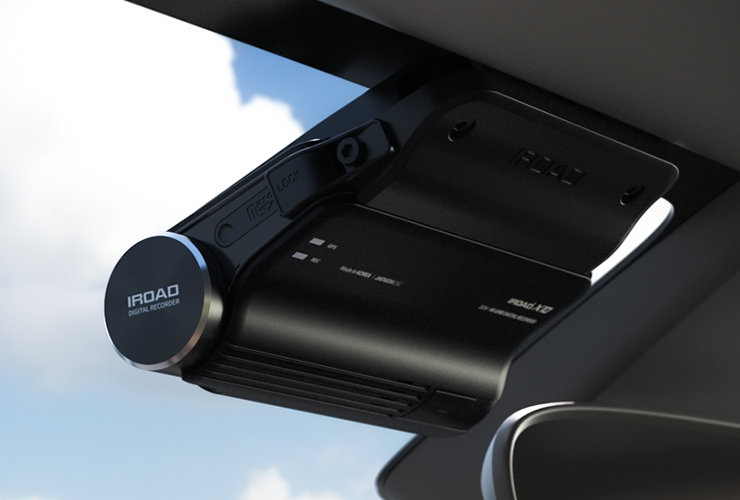
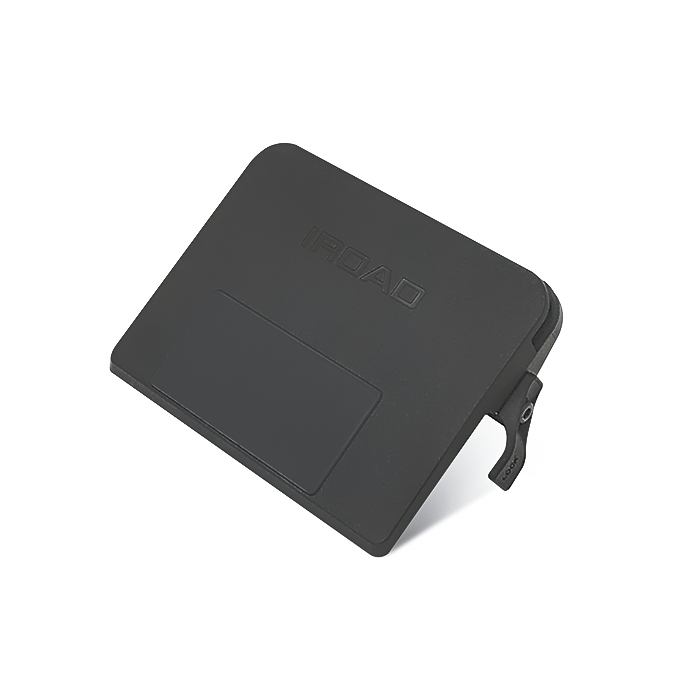
X10 MULTI COVER
Security Accessory for IROAD X10 Dash Cam
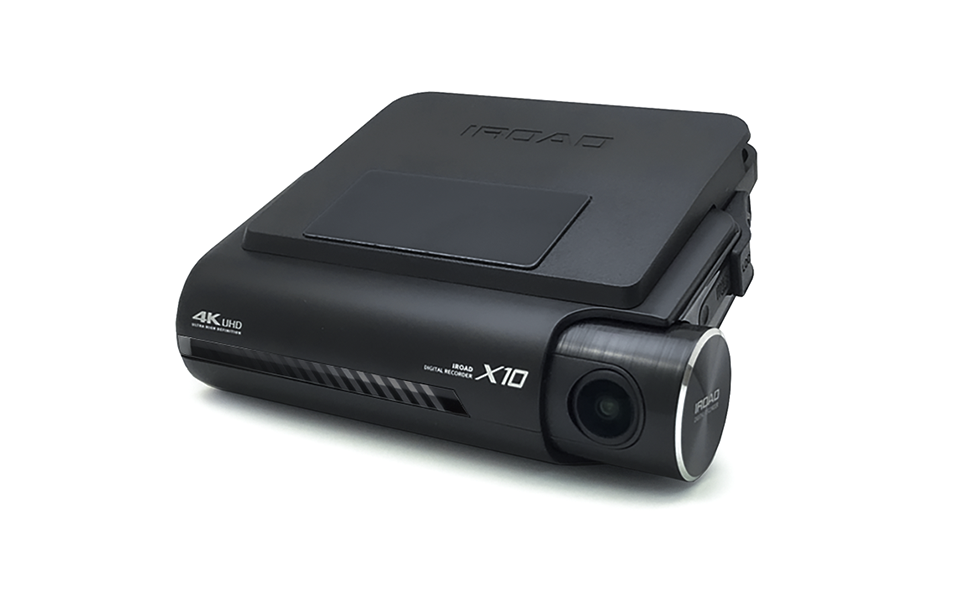
Neat Cable Management
Prevent Damage and Access to SD card
Prevent Unplugging the Cables
FEATURE
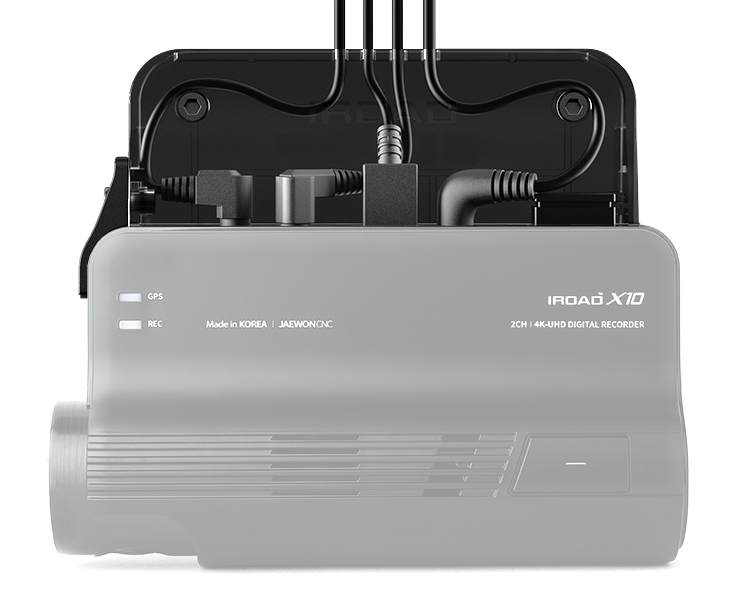
Neat Cable l Secure All Cables
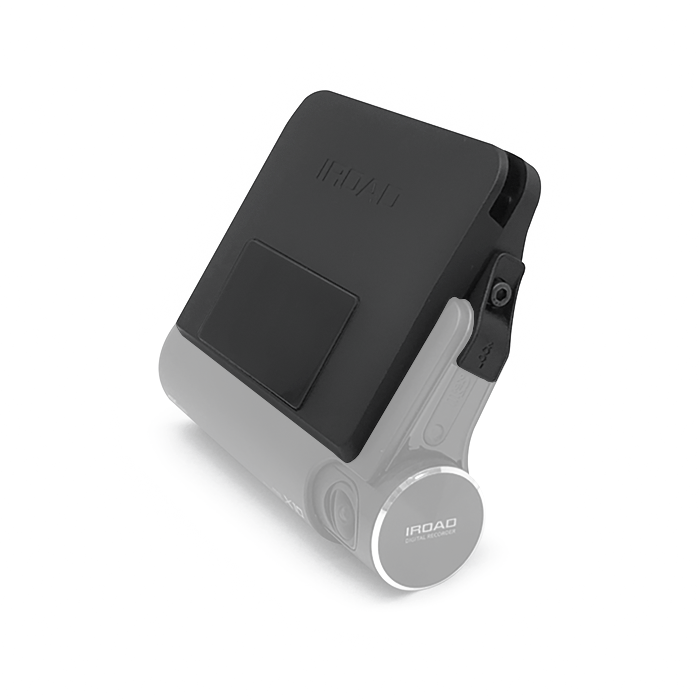
The IROAD multi cover helps to keep cables neat. Also, It prevents damage and physical access to the cables of dash cam.
It is a great method to protect your dash cam and your vehicle.
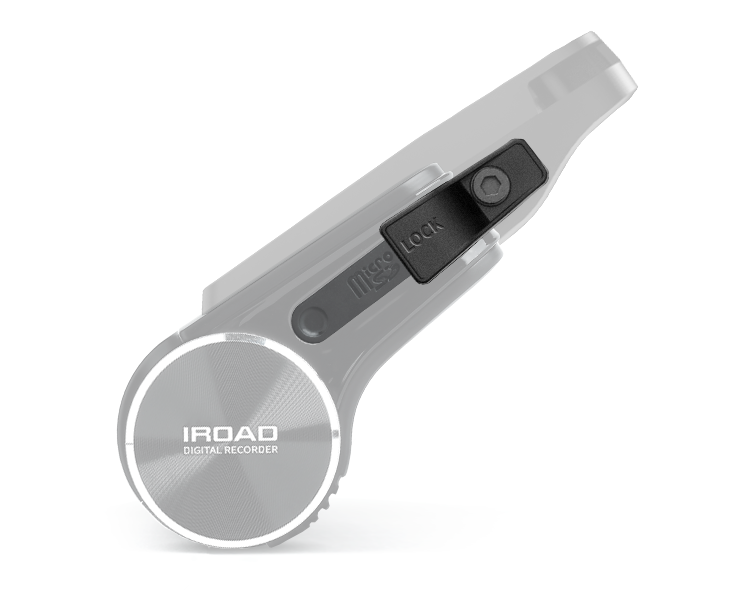
Prevent Memory Card Corruption
The IROAD multi cover is a security accessory to protect Micro SD card slot from physical access, so that video files cannot be damaged or deleted.
HOW TO INSTALL MULTI COVER
IROAD X10 MULTI COVER INSTALLATION
– Place the multi-cover top plate to the X10.
– Connect each cable to the X10 and organize the cables in each hole of the cover.
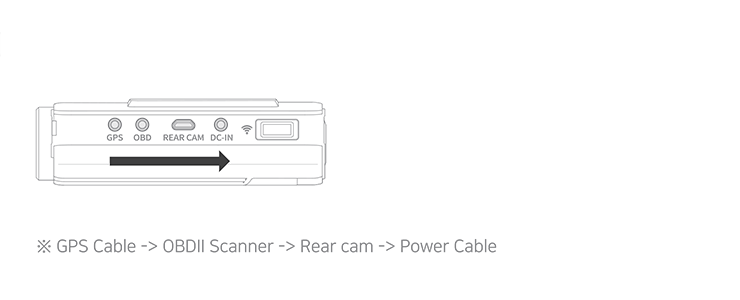
– Cables should be organized in order from the left.
– After fastening the bottom part of multi-cover to top plate, tighten the screw.
– Tighten the SD cover with screw.
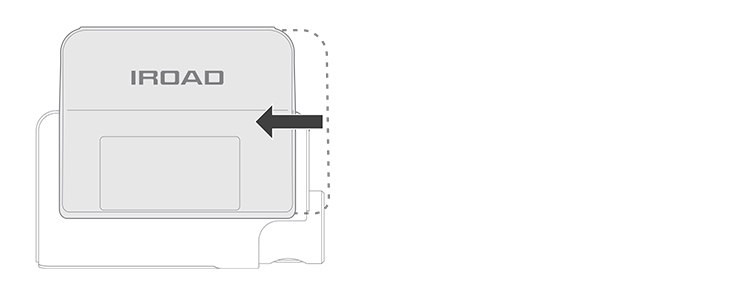
1. Adjust multi-cover and front camera of X10 and push it until it clicks into place.
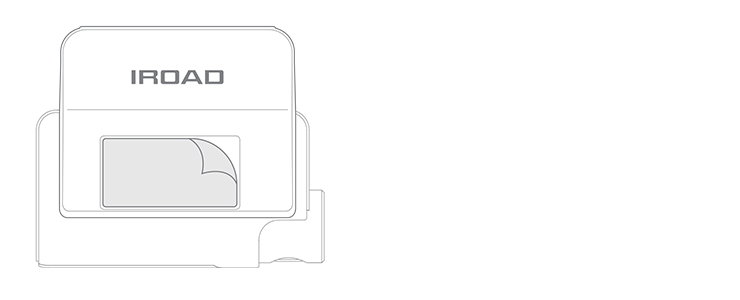
2. Remove double-sided tape film of the multi-cover and attach it to the selected location.
3. Place the top cover and organized the cables.
– Place the cables from left to right relative to the holes in the top cover.
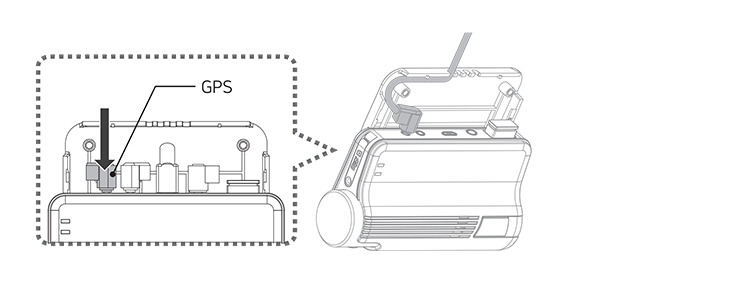
4. After connecting the GPS cable to the X10, place the cable to the first hole from the left.
– Place the GPS cable molding towards left to connect easily.
5. After connecting the OBDII scanner cable (optional) to the X10, place the cable to the second hole position.
– Place the OBDII scanner cable molding towards right to connect easily.
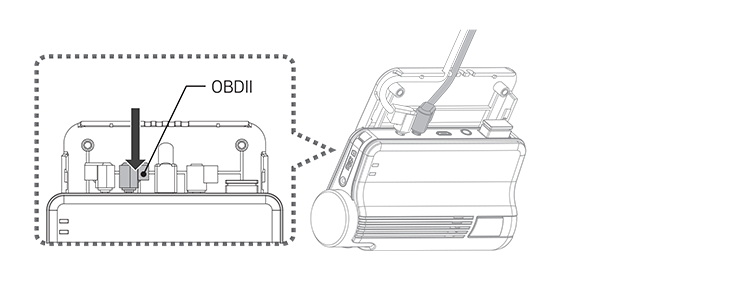
6. After connecting the Rear cable to the X10, place the cable to the third hole position.
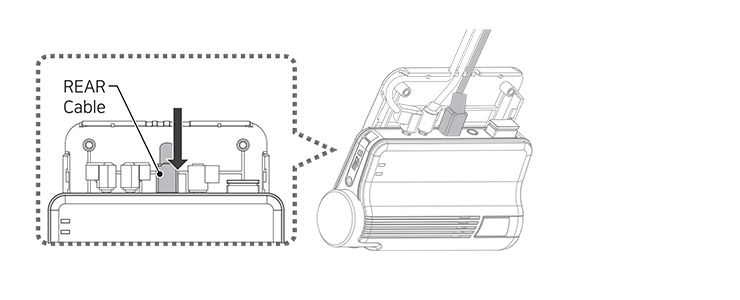
7. After connecting the power cable to the X10, place the cable to the first hole from the right.
– Place the power cable molding towards right to connect easily.
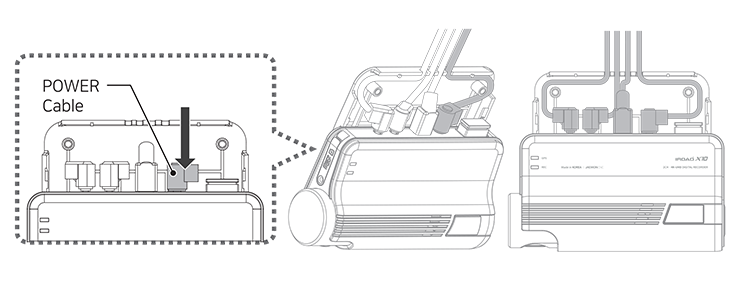
8. After connecting the cables, place the bottom cover case with the top cover together and push it to the bottom to tighten.
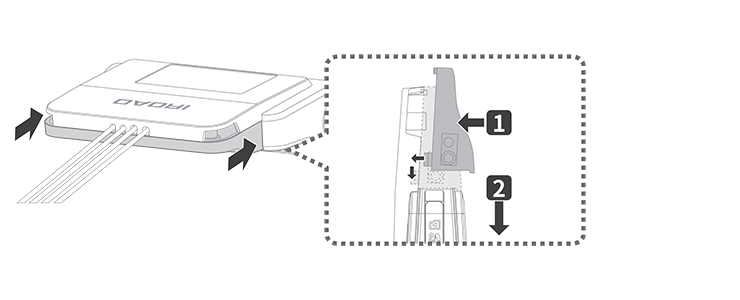
9. Tighten the screws with an allen wrench. After assembling the top, bottom cover, place the SD card cover and tighten the screws.
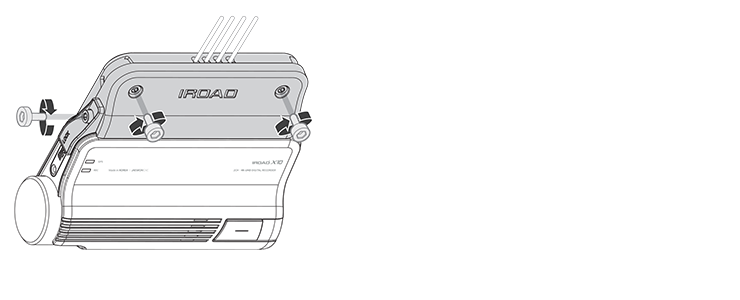
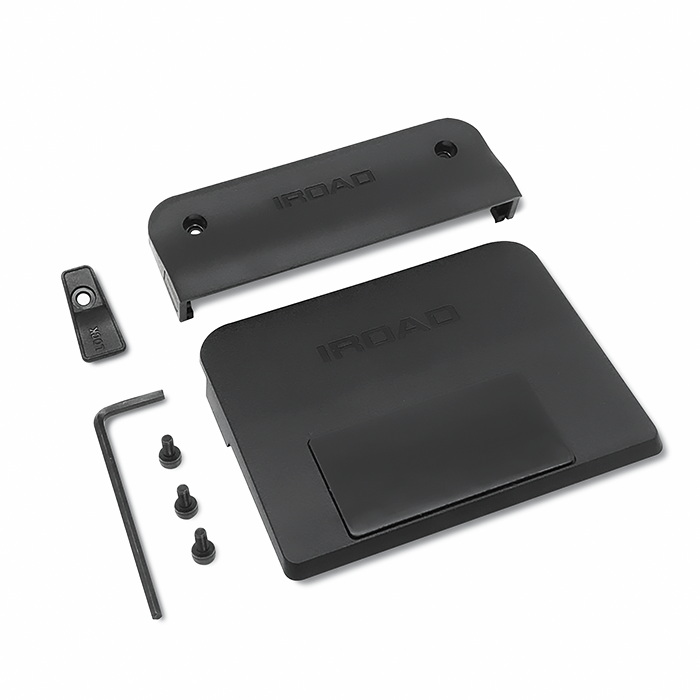
PACKAGE CONTENTS
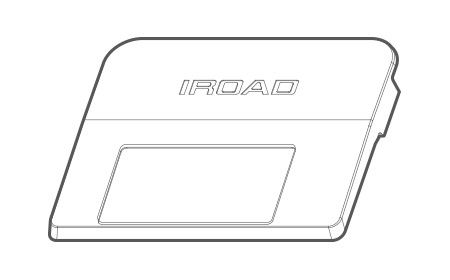
Top Cover (3M Tape) |
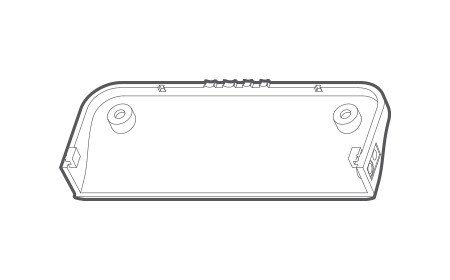
Bottom Cover |

SD Card Slot Cover |

Allen Wrench |
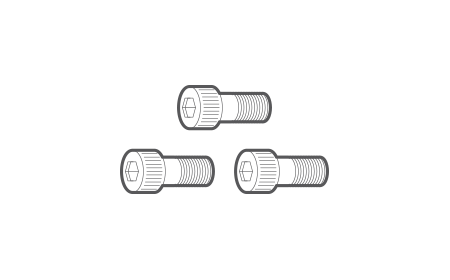
Screws |

Spare 3M Tape |
※ Be careful when installing the screws as it may be lost
IROAD JAPAN
Copyright © 2023 IROAD MOBILITY Co., Ltd. All rights reserved


